NetHunter KeX Manager
Being mobile doesn’t mean putting up with tiny!
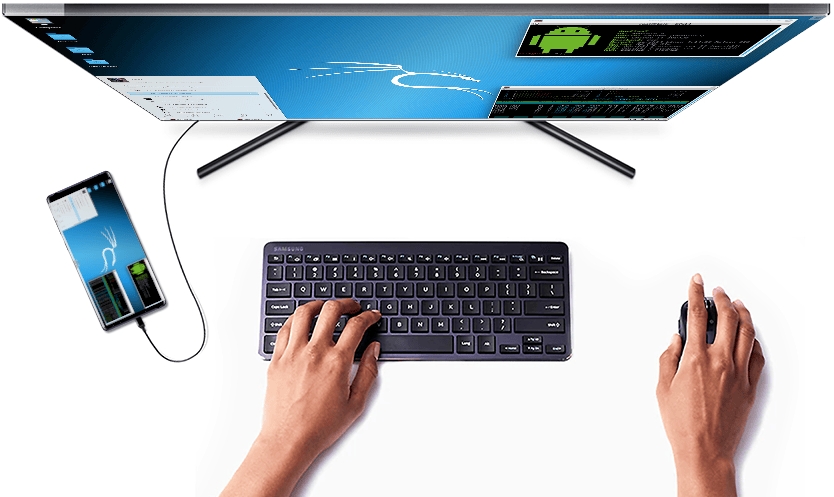
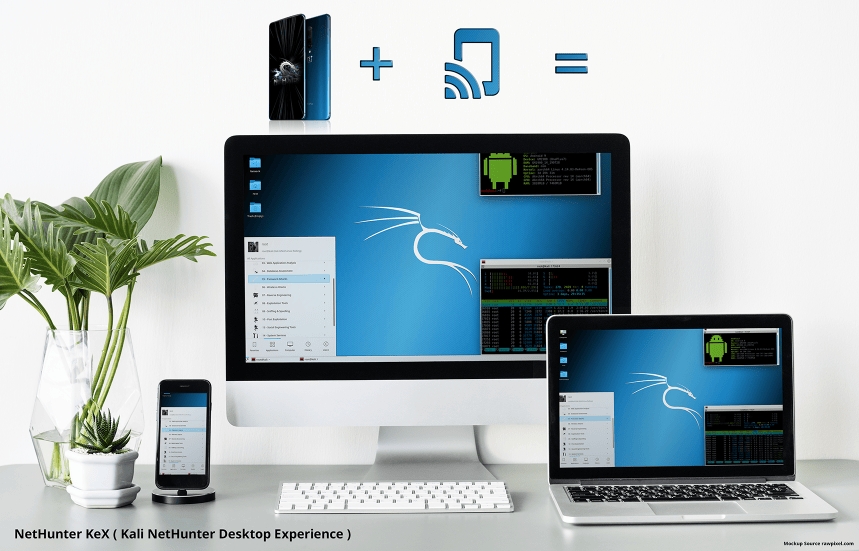
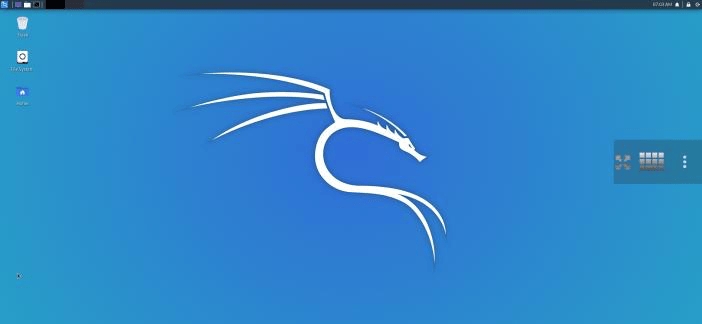
Kali NetHunter Desktop Experience puts the Kali Linux desktop in the palm of your hand.
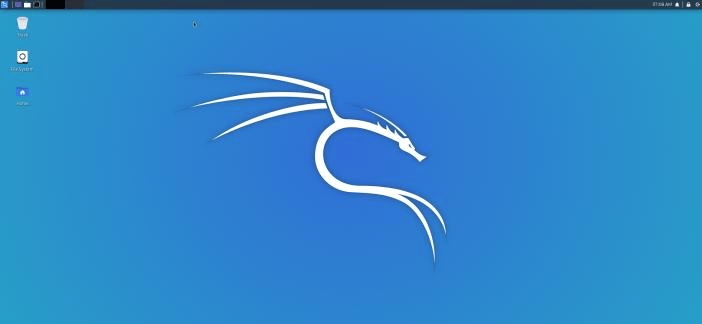
Connect a monitor via HDMI or screen casting and you have a Kali experience indistinguishable from sitting in front of a desktop computer.
Content:
Start the KeX Manager
Set-up KeX
Start & Stop KeX
Launch the KeX Client
Use KeX controls
Advanced KeX Settings
Start the KeX Manager
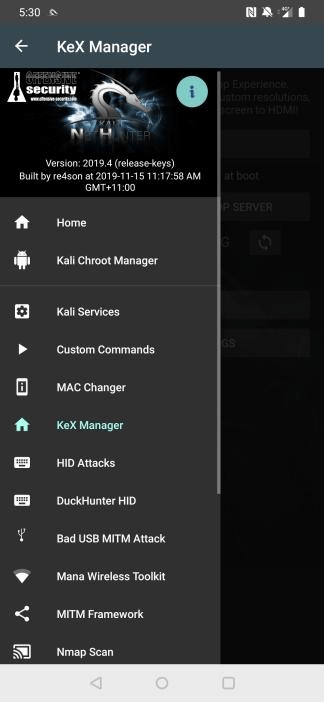
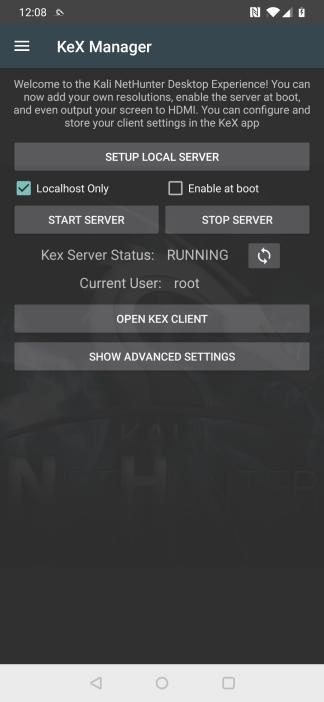
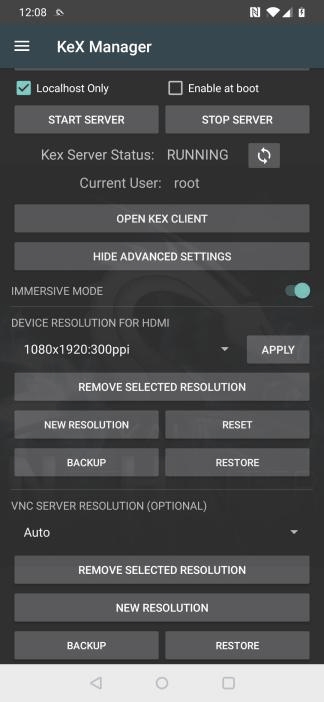
Click on the hamburger menu item and select “KeX Manager” to open the KeX menu. Here you can start & stop the service, open the KeX client and configure advanced settings. KeX can be started by executing the following steps:
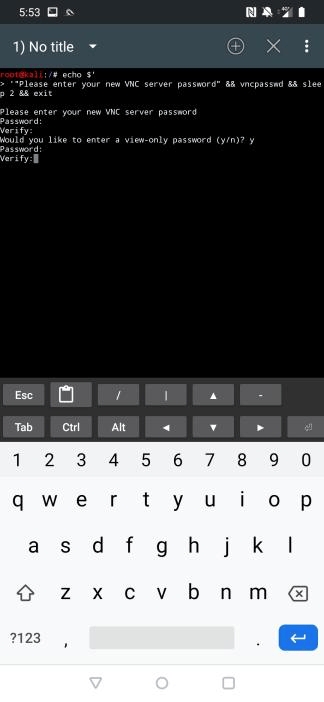
Only once: Set a KeX password before first use
Start the KeX Server
Open the KeX Client
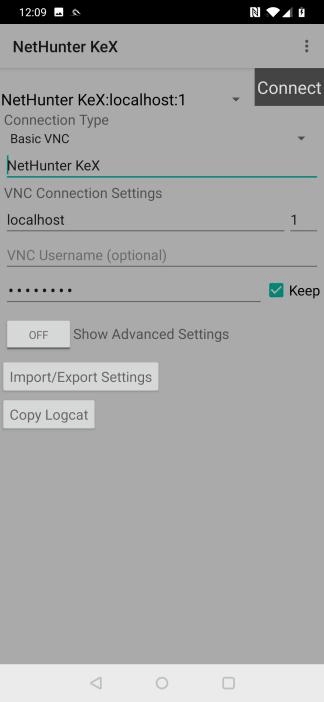
Only once: Enter the KeX password (it gets stored securely in the connection profile)
Click “Connect” in the KeX client to connect to the KeX server
Connect HDMI monitor and bluetooth keyboard and mouse (optional, device can be used as touchpad)
Optional:
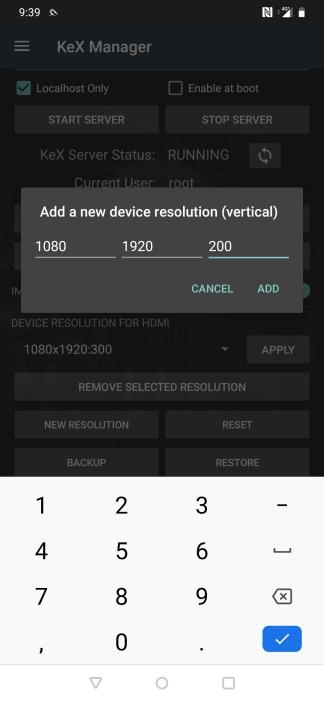
Open “ADVANCED SETTINGS” and set a custom resolution to fit the connected monitor
Set-up KeX
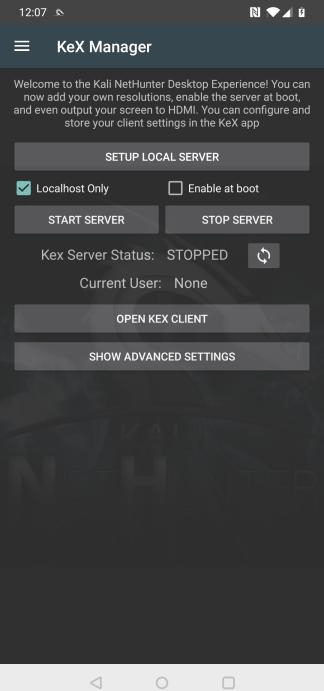
Before starting the KeX server for the first time, click on “SETUP LOCAL SERVER” and configure a session password and a read only password.
Start KeX
To start KeX, click on “START SERVER”. To stop KeX, click on “STOP SERVER”. To display whether the server is running or not, click the refresh button.
Launch the KeX Client
To launch the KeX client, click “OPEN KEX CLIENT”
Before connecting for the first time, enter the password (the one you have configured when setting up the server) in the password field
Press “Connect”
Use KeX controls
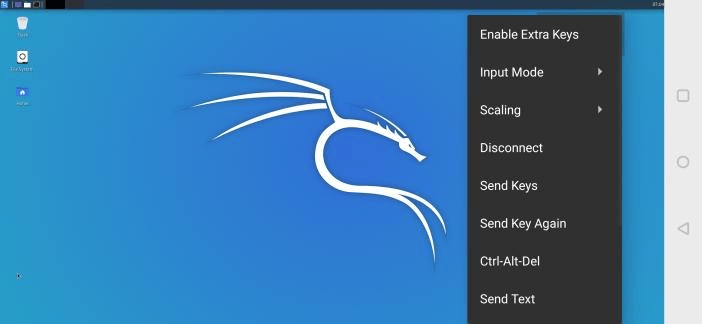
Touching the screen displays the on-screen-display for 2 seconds, which allows you to open the on-screen keyboard or the context menu to configure or disconnect the KeX session.
You can disconnect and re-connect to your session any time.
Advanced KeX Settings
Open the “ADVANCED SETTINGS” menu to tweak the display resolution settings.
Last updated
